Before you start
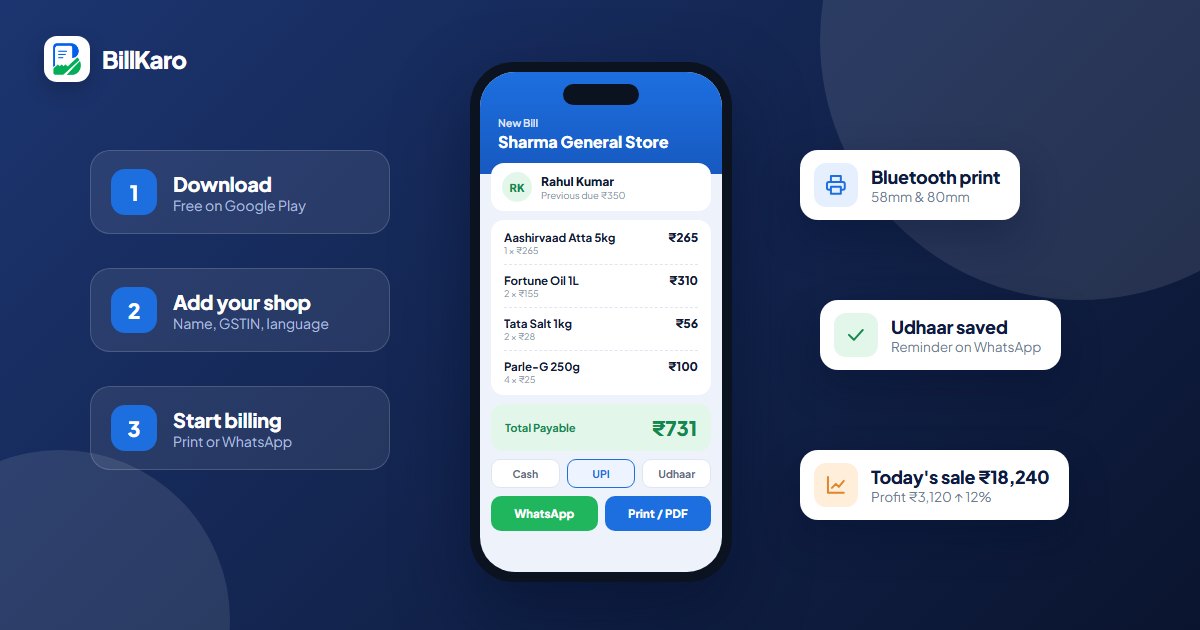
You need only three things:
- An Android phone or tablet
- The BillKaro – Digital Dukaan app, free on Google Play
- Optional: a 58mm or 80mm Bluetooth thermal printer, if you want printed receipts
You do not need a computer, a barcode machine or any training.
Step 1: Set up your shop
Add your shop's name and details, which appear at the top of every bill. If your shop is registered for GST, add your GSTIN as well so it prints on your tax invoices. Choose Hindi or English as your language.
Step 2: Make your first bill
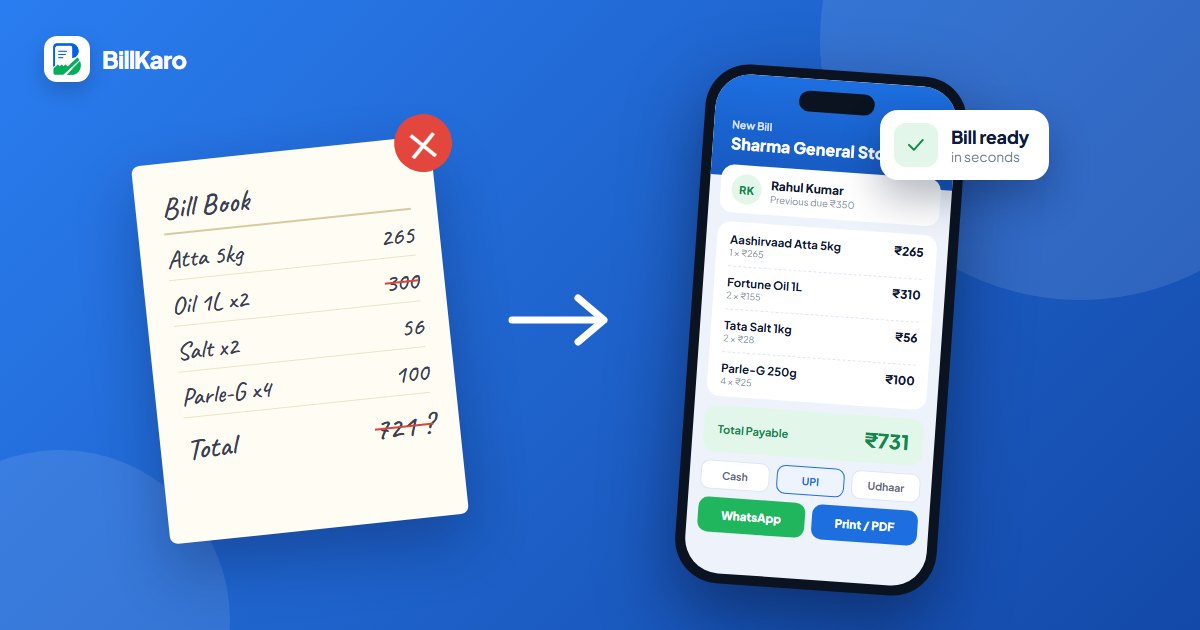
This is the heart of the app, and it takes seconds:
- Start a new bill.
- Add the items with quantity and price. If the product has a barcode, scan it and the item is added instantly.
- Add the customer if you want the sale recorded in their name. If they already have udhaar pending, their previous due is shown.
- Check the total. BillKaro adds everything up, including GST where it applies.
- Choose how they pay: cash, UPI or udhaar.
Step 3: Give the customer their bill
You have two options, and you can use both:
| Option | How it works | Good for |
|---|---|---|
| Connect a Bluetooth thermal printer once, then print each receipt with one tap | Busy counters and walk-in customers | |
| Send the bill as a PDF or image to the customer's phone | Regular customers and shops without a printer |
Step 4: Pick the right invoice type
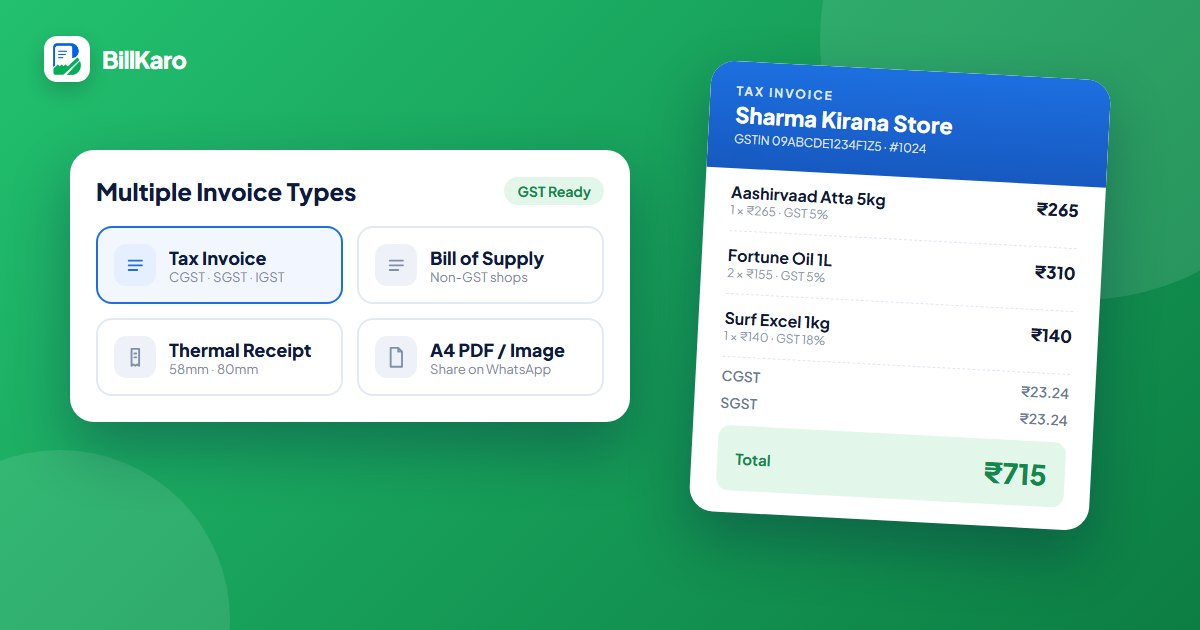
BillKaro offers several bill formats. Choose the one that suits the sale:
- Tax Invoice for GST-registered shops, with CGST, SGST and IGST calculated automatically
- Bill of Supply when no GST is charged on the bill
- Thermal Receipt for quick 58mm or 80mm printing
- A4 PDF / Image for sharing a full-page bill on WhatsApp
Not sure which you need? See GST billing made simple.
Step 5: Record udhaar as it happens
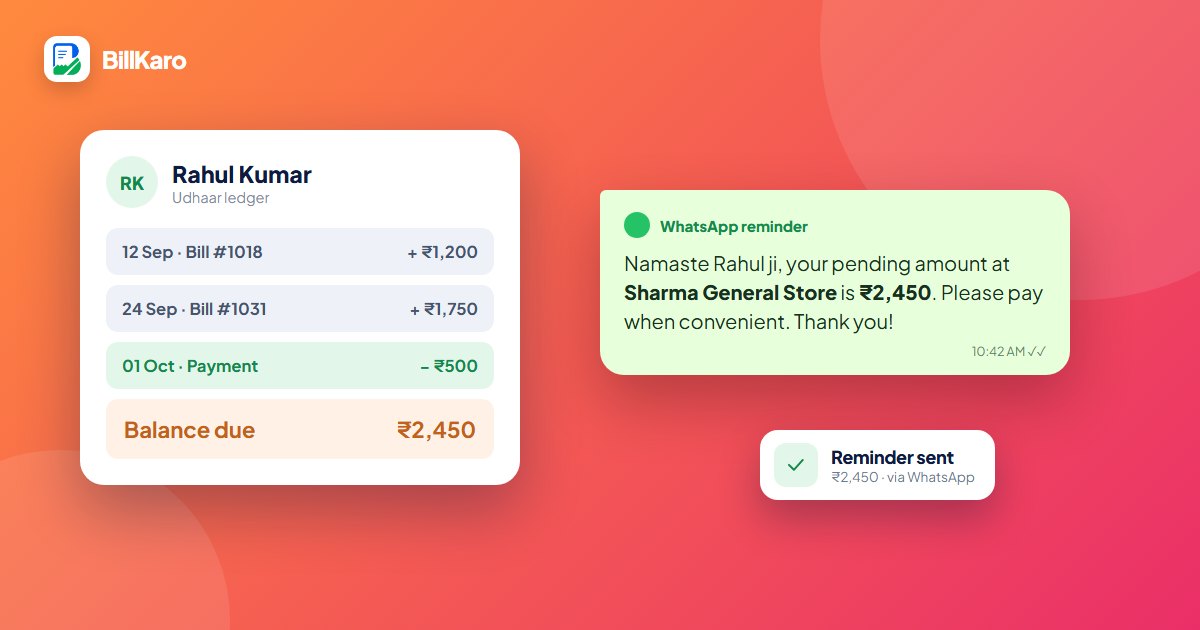
When a customer buys on credit, choose udhaar as the payment option. The amount goes into their ledger. Later, open the ledger to see the balance, record a payment, or send a reminder on WhatsApp. More tips are in our udhaar guide.
Step 6: Add your suppliers and purchases
When new stock arrives, record the purchase against the supplier. BillKaro keeps a ledger for each one, showing what you have paid and what is still to pay.
Step 7: Keep an eye on stock
The stock manager shows what you have, and alerts you when an item is running low, so you can reorder before the shelf is empty.
Step 8: Check your reports
At closing time, open the reports to see the day's sale and profit. When you need to share or keep them, export as PDF or Excel.
Step 9: Bring customers in with offer posters
BillKaro can make offer posters for festivals and sales. Share them on WhatsApp with your customers and your status to bring people into the shop on slow days.
A simple plan for your first week
| Day | What to do |
|---|---|
| Day 1 | Set up your shop and make every bill in the app |
| Day 2 | Connect your printer, or start sending bills on WhatsApp |
| Day 3 | Enter your existing udhaar customers and their balances |
| Day 4 | Add your main suppliers and what you owe them |
| Day 5 | Add stock for your fastest-selling items |
| Day 6 | Send udhaar reminders and share your first offer poster |
| Day 7 | Read your first weekly report and see where the money went |
Is my data safe?
Yes. BillKaro includes cloud backup, so your bills, udhaar records and stock can be restored if you change or lose your phone.
Need help?
We are available Monday to Saturday. Message us on WhatsApp at +91 63877 80336 or email support.coding30@gmail.com.
Try BillKaro in your shop today
Bill, print, GST and udhaar in one app. Free to download, in Hindi and English.
Download free on Google Play →